Step by step guide to deploy your Node.js app by uploading your project folder from the dashboard
- 1Prepare your app for deployment
Generate a package json file in the root directory of your application files. By default, the nodechef platform executes your code using the latest node js version. To specify a different version, use the "engines.node" attribute in the package.json file. Note you must specify the version explicitly. eg: "node" : "0.10.41". By default, the entry point of your application is the index.js script. To specify another script as the entry point, use either the "main" or "scripts.start" attribute.
On deployment, your local node_modules folder is not included in the zip package uploaded to the server. Modules from your package.json are cached on the build server for faster builds.
You can retrieve the Network address to use for the the listening socket from the environment variables process.env.PORT and process.env.BIND_IP. Hardcoded port numbers will not work on the nodechef platform.
Express.js example:
app.listen(process.env.PORT || 3000);
Listening using http:
http.listen(process.env.PORT || 3000, function() {})Working with NPM scripts
By default to start your application NodeChef searches for a scripts.start in your package.json. In case you want to customize your build, you can also include a postinstall script as well which NodeChef will run after running npm install
"scripts": { "start": "node app.js", "postinstall": "echo 'meow'" <--- Will run after npm install }Connecting to your database
The connection string to the database can be retrieved from the process.env.DATABASE_URI or process.env.DATABASE_URL environment variable. This value is a platform default variable that is automatically set on your behalf. You can however override this value if using an external database. - 2Deploy your cluster
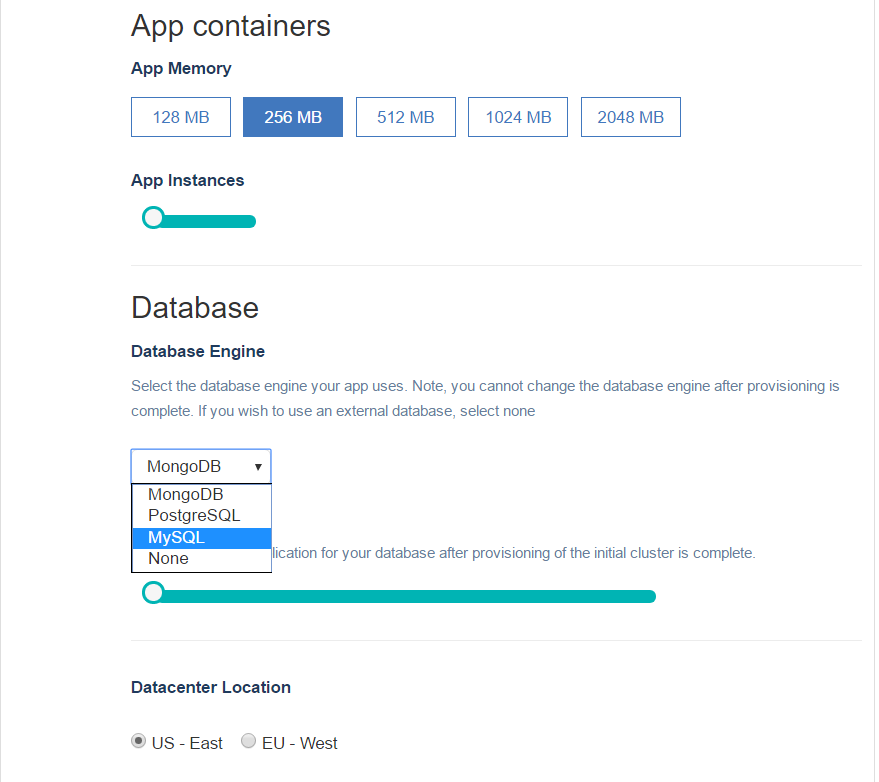
Log in and navigate to the Dashboard. Click on deployments and complete the form. You will be required to select the size of your container and the region where your cluster is to be hosted.
- 3Upload your project
After your cluster is deployed in Step 2. You will will be able to upload your project folder to your App containers.
You must first zip all the contents in your project folder or use a tar archive with gzip compression to bundle all the files in your project folder. You can then upload this bundle.
The zip or tar.gz archive cannot exceed 256 megabytes in size. You can always find the form to upload your project from the dashboard by navigating to the task manager → App actions → Upload code.
To speed up the deployment, do not include your local node_modules folder as part of the archive. Also do not include any hidden .git folders as part of your archive.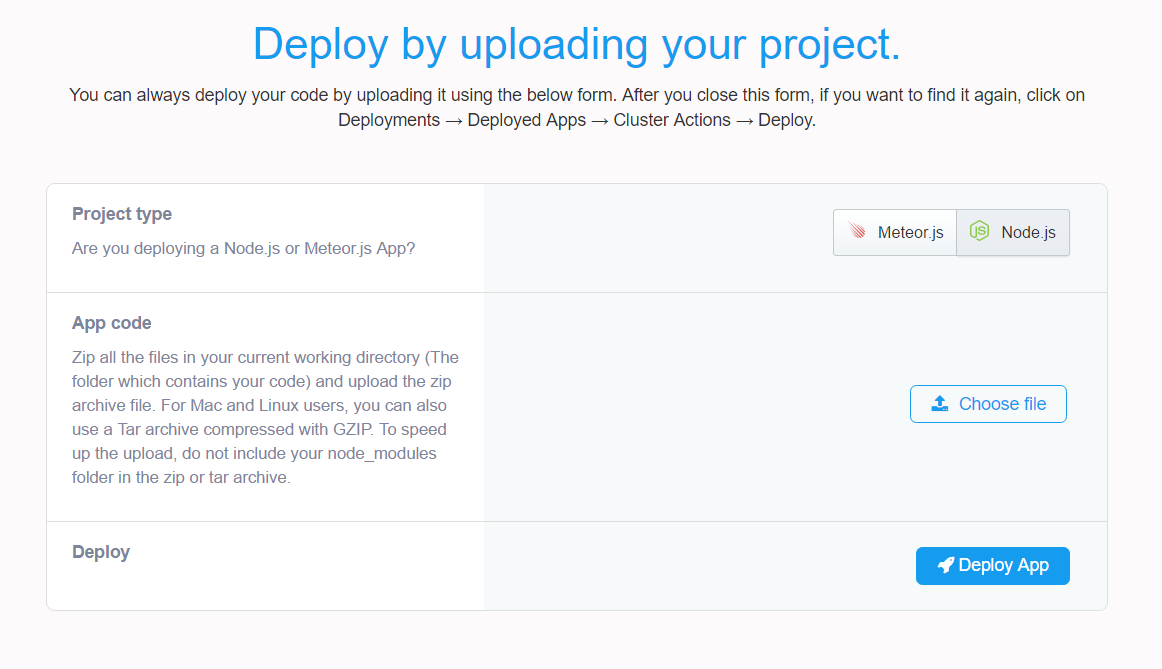
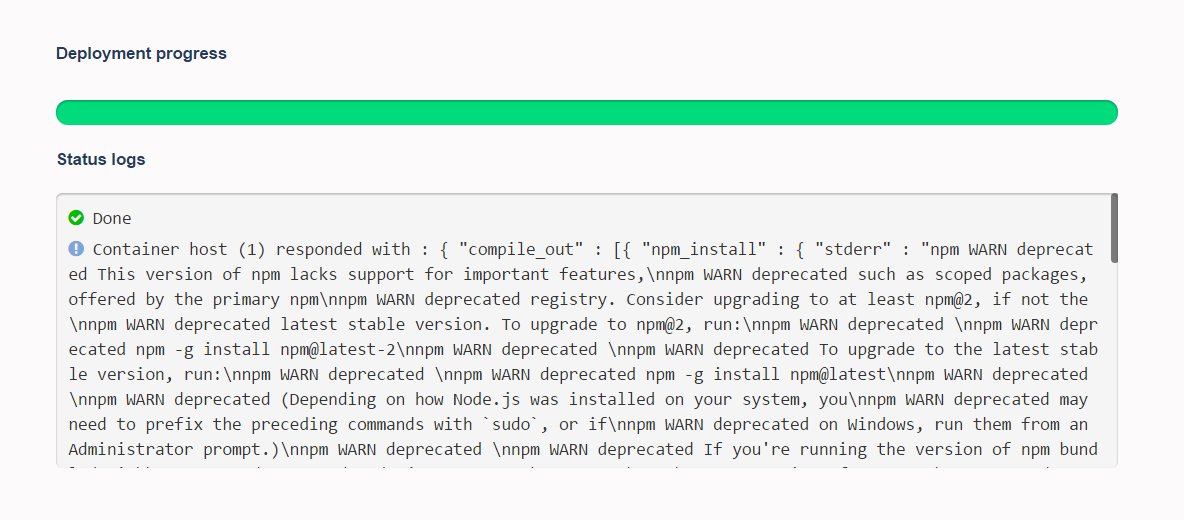
Once you click the Deploy app button, you should be able to see the status of the deployment from the progress indicator which is displayed right below the Upload form.