This is a multipart article about how to deploy and scale Node.js (other languagues and frameworks should work as well) using NodeChef Platform-as-a-Service for AWS (Other cloud integrations work pretty much the same way as well). We mention AWS as a proxy for all other Cloud server providers and Node.js as a proxy for all other programming languages including even custom Dockerfile deployments.
Deploying and managing Node.js applications on AWS can be quite complex depending on your needs and the skill level of you and your team. If you want a robust deployment that can quickly scale to meet demand when the application becomes popular also presents it's own set of challenges. On going security updates patching to ensure your Node.js application is not vulnerable to attacks as well as high availability demands to ensure your Node.js app is always on also compounds the challenges.
This is why NodeChef Platform-as-a-Service for AWS exists to take away the heavy lifting of deploying and managing Node.js to a compex cloud environment such as AWS so you and your team can solely focus on code and not servers.
To get started, first sign up for NodeChef, you can also skip signing up and log in if you already have an account with Google, GitHub, GitLab or Bitbucket
Once your account is setup, you can connect your AWS account to NodeChef. Connecting your AWS account to NodeChef allows you to provision an EC2 instance directly from the NodeChef dashboard. NodeChef automatically creates security groups and setup all the neccessary inbound and outbound traffic rules. Click on Private cloud on the dashboard and then click on Add from AWS.

Once your access keys are added, the various EC2 regions will be displayed. Select the region where you want to provision your server. NodeChef displays the various instances types currently available in the selected region to provision. Click on the provision buttom and finalize the provision such as selecting the the availability zone and also configuring the EBS storage size if required. Click on the Deploy button to add the server to your NodeChef account. Adding the server can take up to 10 minutes. If you want to setup a highly available app, you can increase the quantity of the servers to provision or later add extra servers and instruct NodeChef to run multiple instances of your Node.js app on the servers you just added. More on that later.

Under EBS storage, you can select more storage if required. This makes sense especially if you are going to be hosting your app and database on the same server or if you are going to use this server to host only a database. In later parts of this article, we will get into the benefits of running apps and database on their own isolated servers.

You can select a specific availability zone if required. NodeChef automatically distributes your servers across multiple zones in the same region as such you can simply ignore this field and make no selection.

You must also specify a new project name or select an existing project if you are adding a new server to another project. Project names are a way to group servers by their use case. For example, imagine you manage deployments for many clients and for one of your clients, who happens to be a client of note, you want to run their deployments on their own dedicated servers, you can create a project with name "my-super-client" and only deploy the applications of this client to the "my-super-client" project. When you later add more servers, you will select this project name to be associated with the new server.
Under the role section, you are presented with 4 options. If you do not make a selection, this is equal to the putting everything on the same server option. This means, your apps, databases and the traffic load balancer will all be on the same server. We explain when to select the various roles below:
- Everything on the same server
The default option. Select this option if you want to host the app, database and the load balancer (proxy) on the same server. This is ideal for teams just starting out, applications receiving traffic roughly less than 10k concurrent requests per second (All depends on the server size) or for your dev and staging environments. You can host as many apps and databases on the same server. You can still achieve high availability and scale out with this option if you add at least 2 more servers and also set the right scaling rules. We will get into high availability and scaling out in the next part of this article.
-
Load balancer only
Pretty self explanatory, you select this option if you are trying to setup a cluster where the load balancer, app containers and database process are isolated on their own servers. The load balancer which we recommend should be at least two servers, are isolated and will route traffic to your app servers which are also hosted on their own separate servers.
-
App containers only
Only your apps will go on this server, the load balancer and the database will be on separate servers.
-
Database only
You intend to use this server to only host your databases. We support MongoDB, MySQL, PostgreSQL and Redis databases.
For now, just leave this field blank which defaults to the everything on the same server option. Click Deploy servers. You can monitor the progress of the server installation by clicking the history tab:

Once the server installation is complete, you are now ready to create an app, database or just an app and deploy your code to the EC2 server you just provisioned.
- Setup a NodeChef application
Click on the deployments tab on the dashboard. under Deploy App. Specify a name for your app and select a container size. Select a database if required.

Under the hosting location, select the name of the project you used when adding the EC2 server under the host this application on my servers. This is very important

Click the launch cluster button to create the application on your EC2 server.
-
Prepare your app for deployment
Typically when you develop an application on your localhost, it typically listens for connections in port 3000. You need to make a few changes since this app will not be running on your localhost but rather the EC2 server. NodeChef automatically sets an environment variable with name "PORT" which you can reference in your code to get the right port address for your app to use. An example on how you will do this in Node.js is provided below:
server.listen({ port: process.env.PORT || 3000 }) .then(({ url }) => { console.log(`🚀 Server ready at ${url}`); }); -
Push the code to the EC2 server
We provide three different ways for you to push your application to your server as explained below.
Push using GIT
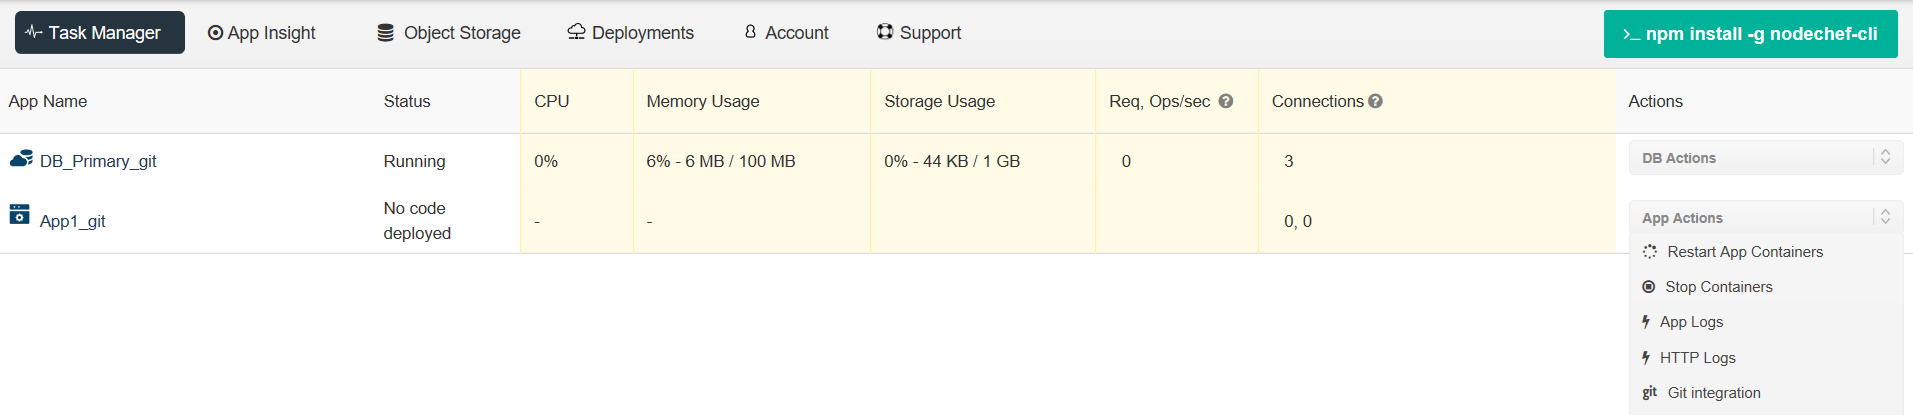
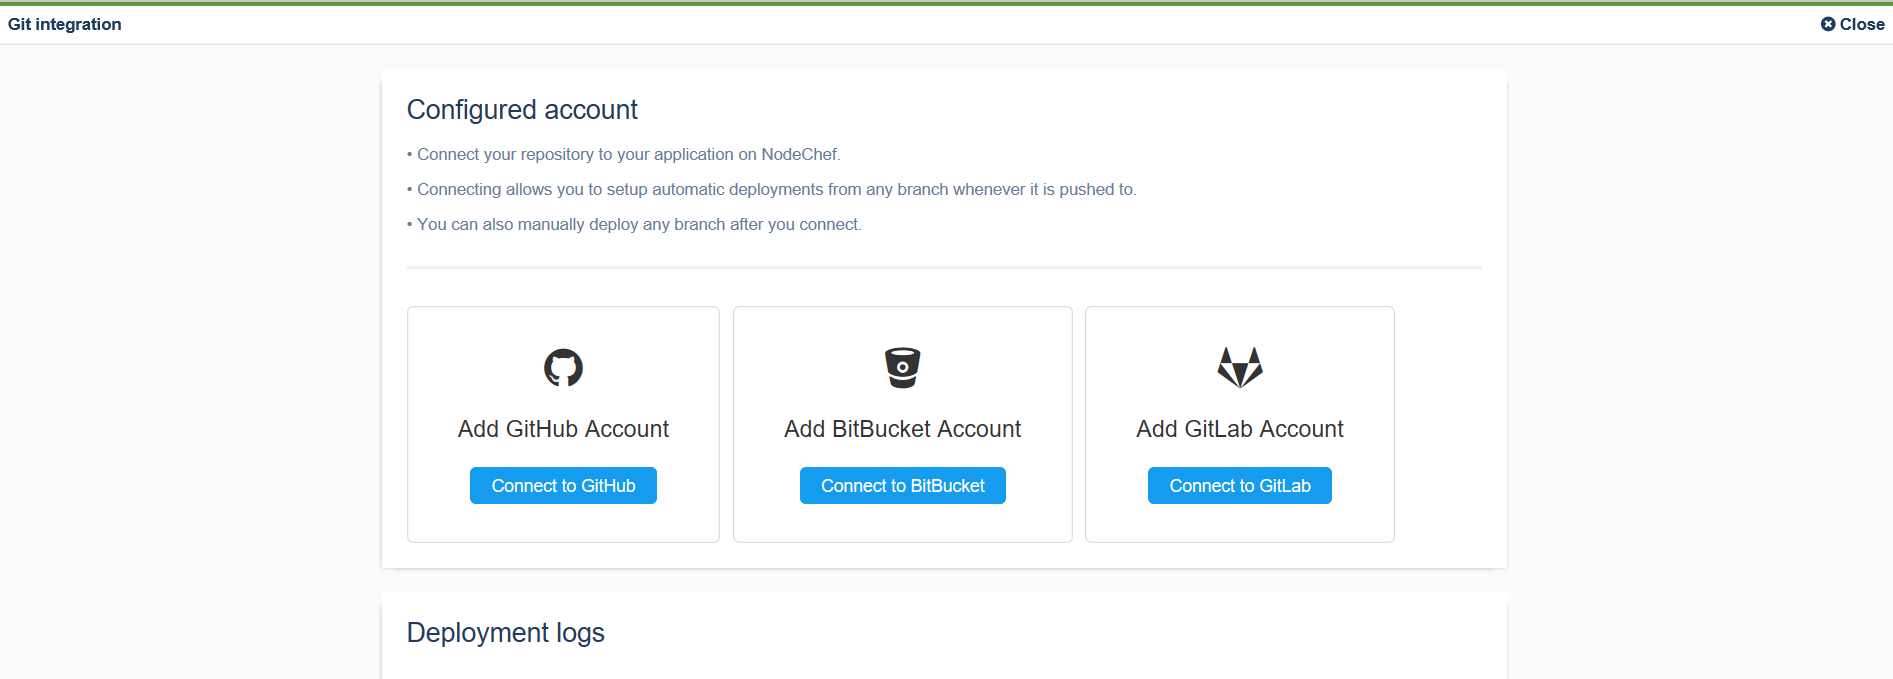
Click on the Task Manager → App Actions → Git integration to configure GitLab, GitHub or BitBucket integration.
To configure GitLab integration, you have to authenticate with your Git repository. You only have to do this once per NodeChef account. Click “Connect to (repository)”, to start the authentication. If you signed up or logged in with GitHub, GitLab or BitBucket, the authorization step should be already complete without having to perform another authorization step.
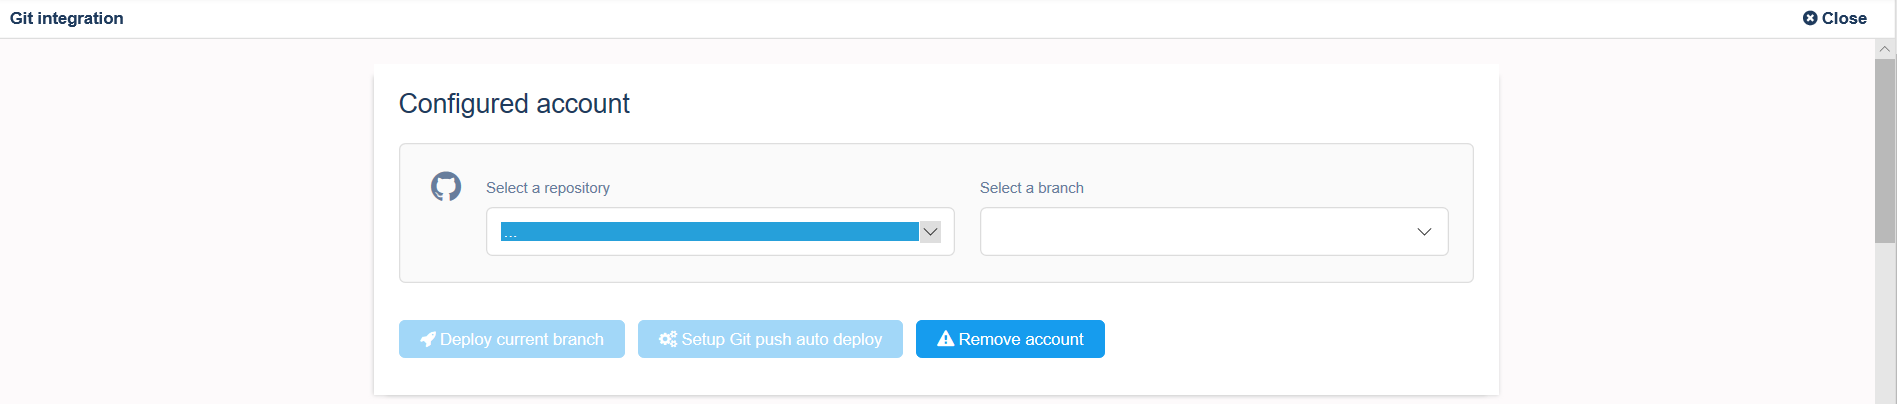
After you link your Account to a Git repo, you can selectively deploy from branches. You can also configure a specific branch to automatically deploy whenever you run git push from your terminal.
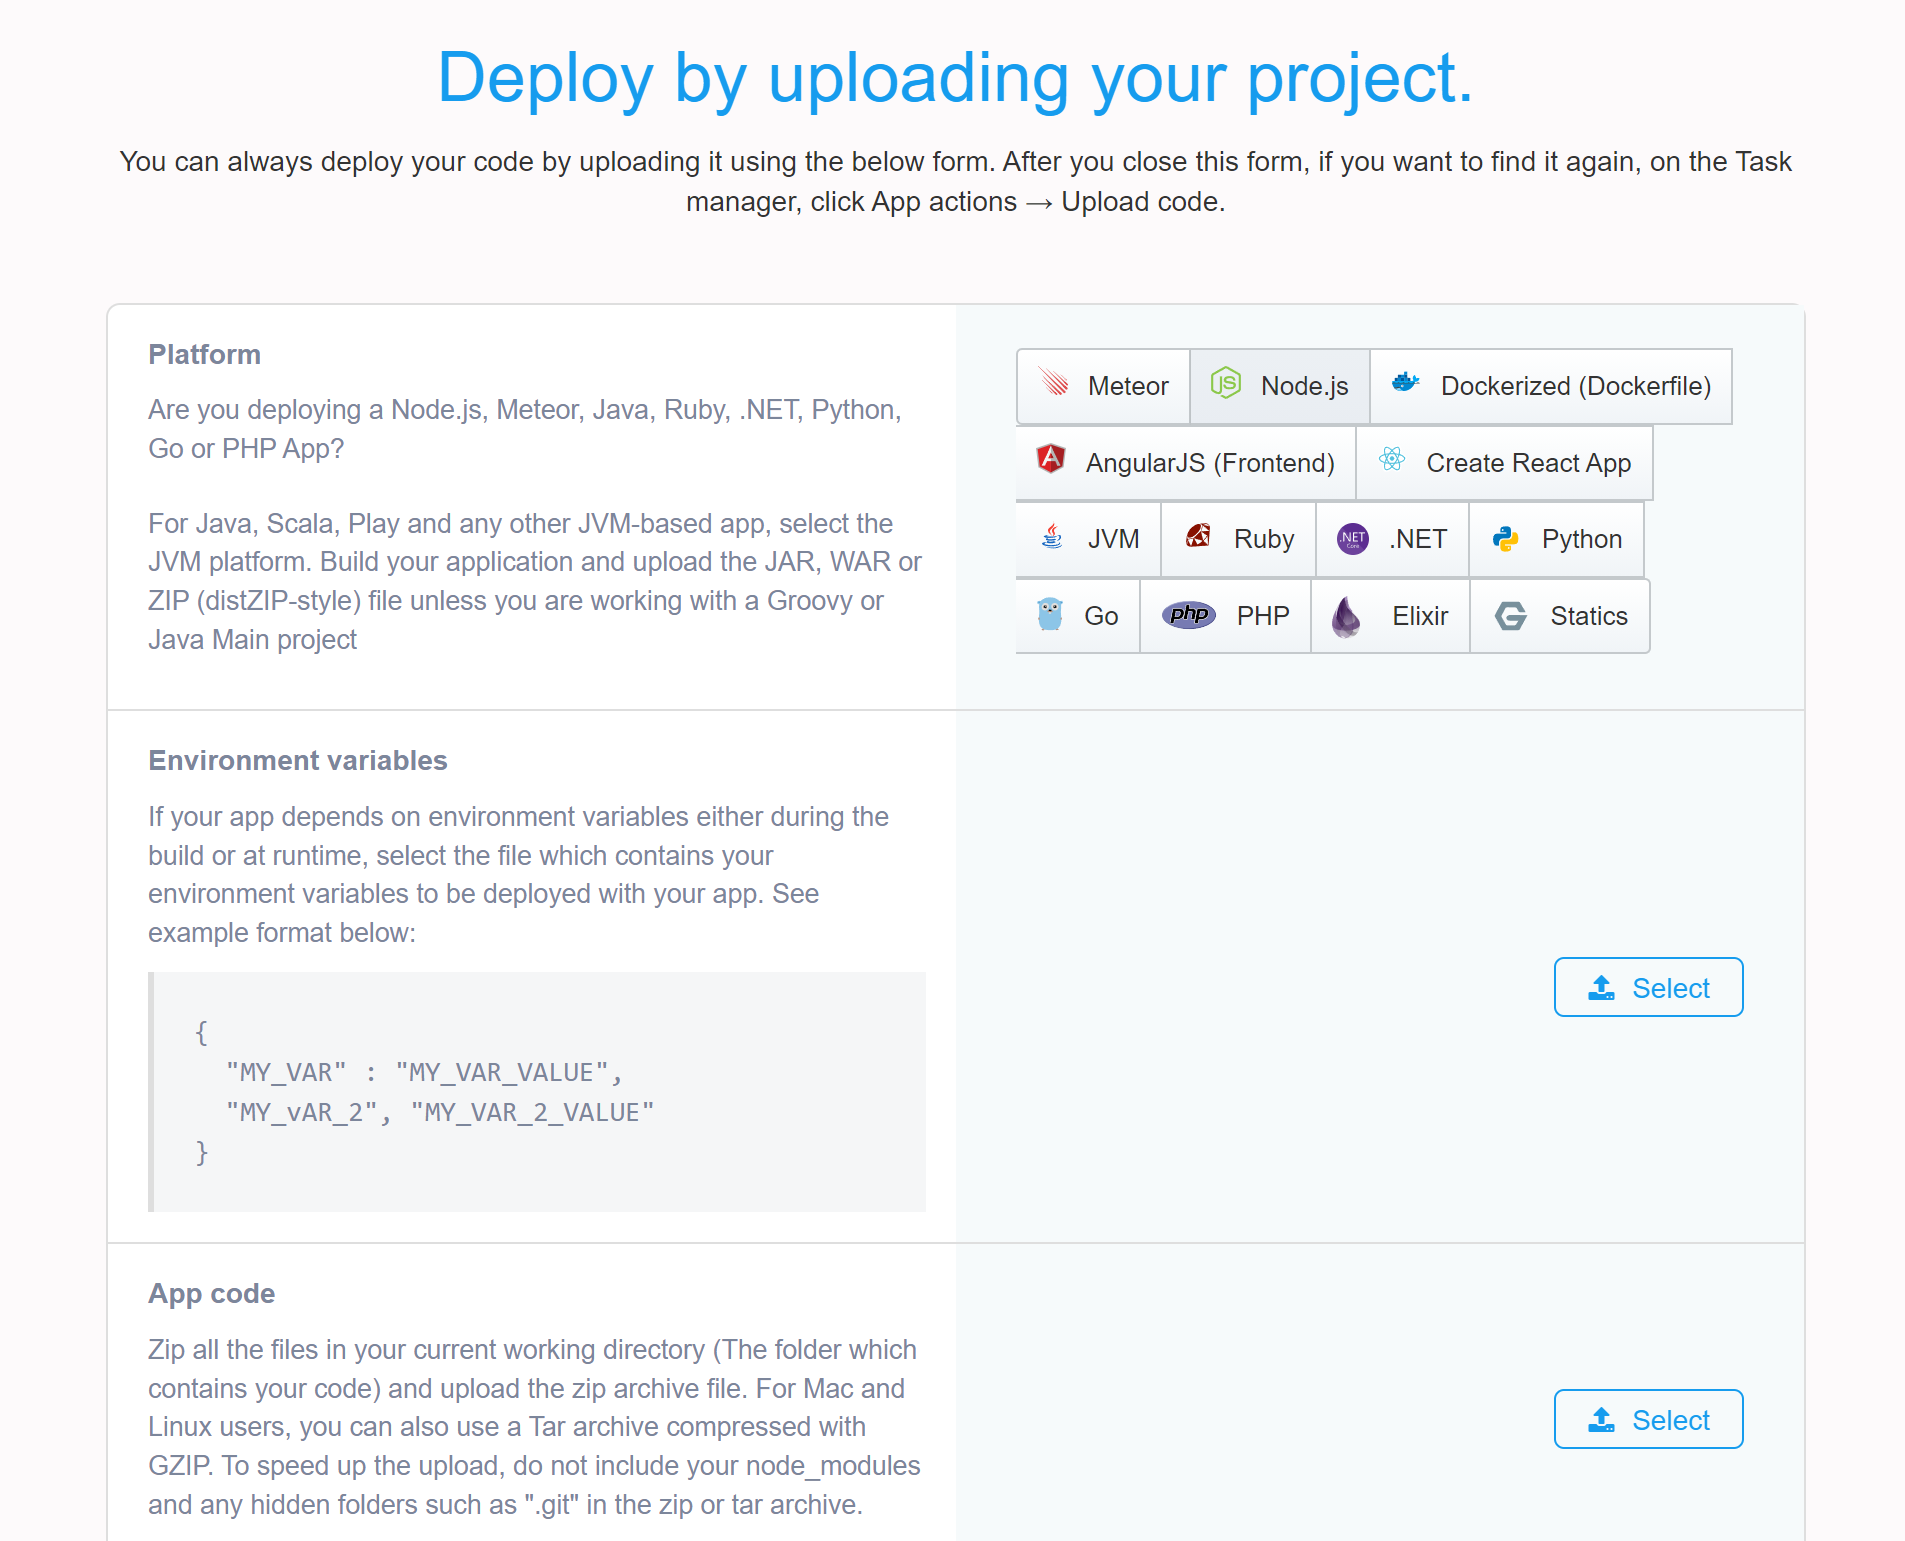
Push by uploading your project folder
You must first zip all the contents in your project folder or use a tar archive with gzip compression to bundle all the files in your project folder. You can then upload this bundle. Navigate to the task manager → App actions → Upload code. Select the runtime, and the archived folder to deploy and that is it.
Push using the NodeChef CLI
Install the NodeChef CLI from npm using the command as seen below:
npm install -g nodechef-cliGenerate a deployment token from the dashboard by navigating to the task manager → App actions → Deployment token
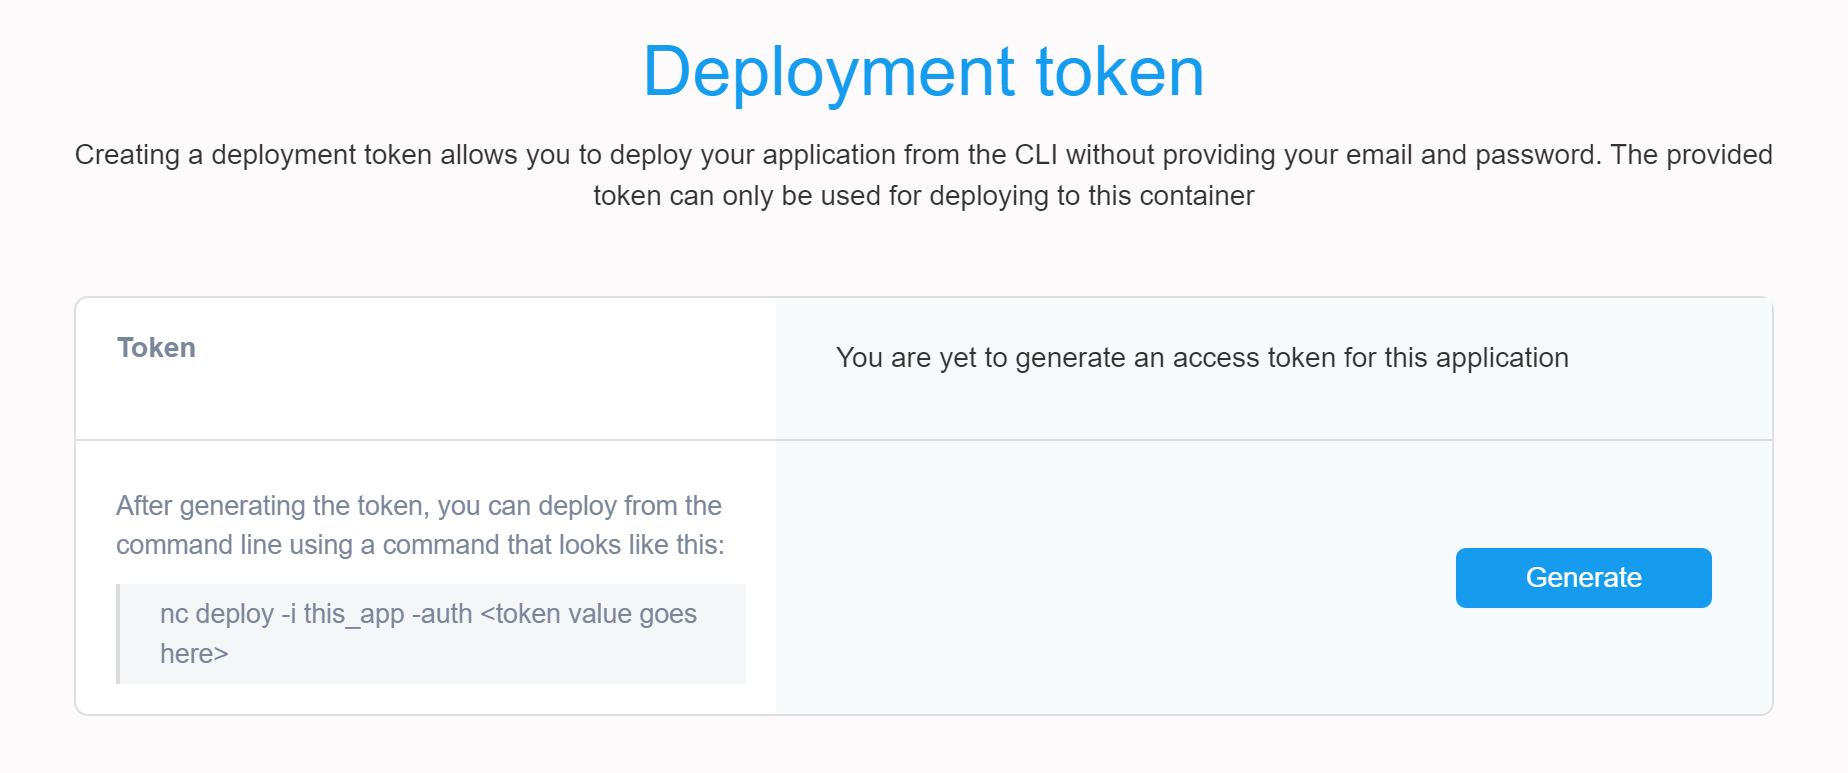
CD into your project folder and use the command as seen below to deploy.
nc deploy -i my_first_node_app -auth paste_token_here
And that is it for part 1 of this article series on NodeChef for AWS. Your application should be up and running now on your EC2 server.
In this article, we covered:
- How to provision and AWS EC2 server from the dashboard which automatically adds it to your NodeChef account.
- Create an application and database to be hosted on your EC2 server.
- Deploy your code to the application.
In the next part of this article, we will get more into detail on setting up an application that scales out and also happens to be highly available so it never goes down and you can peacefully sleep at night.
Further reading on deployments using Buildpacks and other platform configurations such as custom domains, SSL certificates can be found here